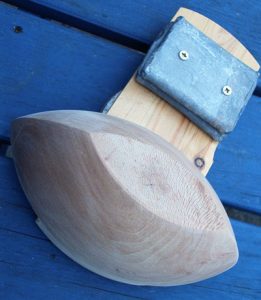
Cutting the second arc
Keeping the lathe at its lowest speed, I again checked the assembly wasn’t going to fly apart before setting the toolrest and once I was sure all was well, set the toolrest and manually rotated the work once more to make sure it wasn’t going to catch. In cutting the second curve, I used the reference height provided by the backing piece, which was cut to the same height as the bowl top edge during the shaping of the first side. I also used the cardboard template as a rough guide but the most accurate way is to look at the corner formed between the two curves (on either end of the bowl). As this line is formed by the intersection of the two curves, it will be horizontal (while the piece is mounted sideways on the lathe) and straight when both curves are the same shape and depth. As you progressively cut the second curve, you will notice this line becoming straighter and moving away from the side you are cutting so don’t take too much off or the piece will need to be reversed again to correct the shape on the other (first) side.
Once the curve was completed, the side just finished was sanded as before and the blank removed from the backing, along with the counterweight.
Second curve completed and sanded
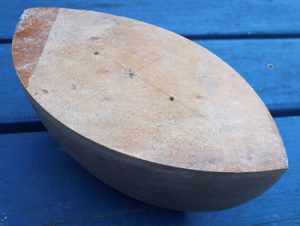
Top side of bowl
I re-mounted the backing piece on the lathe and, using a chuck in the tailstock, pilot drilled the centre for a screw hole to use as a mount for the blank in the central position. This was in preference to drilling earlier and ensured the pilot hole was accurately centred
Next – Hollowing the bowl
Back to Cutting the first curve


