
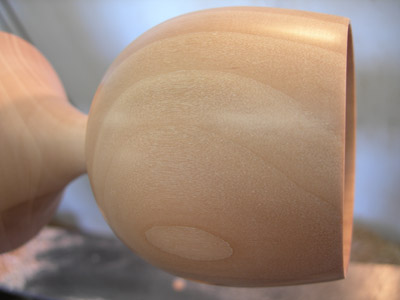
Turning the outside of the cup
Once the inside of the cup is completely finished, the outside can be shaped to match the profile. Try to aim for an even thickness. How thick is up to you. For decorative goblets, translucently thin cups can be produced but for a practical goblet, adequate thickness to prevent the cup leaking is needed so something around 3 – 4mm. Leave enough material at the base of the cup to give adequate support while shaping and sanding. Sand through the grits as before and finish. For goblets intended for use, I use a food safe oil finish. For decorative goblets, finish as before with sanding sealer and wax.
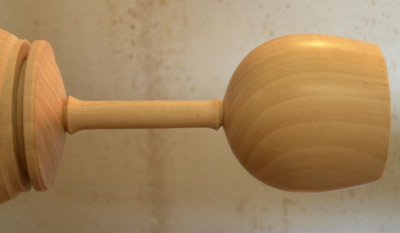
Turning the stem
As with the rest of the goblet, the principle of maintaining support and finishing in stages is applied. This is particularly important with the stem. Aim to finish the stem in inch long sections and once each section is turned to the diameter you are aiming for, move on to the next section. Never attempt to go back once you have removed support by turning down the following section.
My preference is to turn a V detail at the top and bottom of the stem to mark the transition from stem to bowl and stem to foot. The top one is done as the first stage in forming the stem. I use the short point of a skew to form the V. The bottom V is formed as part of the forming of the final section of the stem. I also like to cut a barley twist on some of the goblet stems. For these, I leave the stem a little thicker (around 3/8″ or 10mm)
Next – Cutting a twist stem
Back to Turning a goblet